Progress Report #6 (2014)
Meeting with Dr. Booth by Aireen
Last Wednesday, March 19th, we had a brief meeting with our project advisor, Dr. Booth. We gave him updates on our current progress, mainly on how we plan to tackle the dispensing problem. We explained to him that our dispensing system will be similar to the one used in vending machine. However, some modification will be made to allow the system fits inside the cooler. Plus, Dr. Booth told us his concerns regarding the weight of the cooler since the components (e.g. motor, scanner) of our automated cooler might make it heavier than usual. Heavy cooler may lead to difficulty in carrying the cooler around the hospital. Also, he reminded us to not overlook the possibility of the blood bags being stuck during the dispensing process.
Also, for the scanning system, he strongly suggested us to use OCR scanner instead of RGB scanner since it is readily accessible. No further modification needs to be made if we install OCR scanner.With RGB scanner on the other hand, the blood bank workers need to paste specific colored sticker on specific bags. This extra work can take more hours and also possibly increase human error in another new way, like misplacing stickers on the wrong bags.Overall, Dr. Booth was happy with our progress and liked our approach of manipulating existing system l(ike the dispensing system) to solve problems.
Arduino and Coding by Zulhilmi
Our main processor will be the Arduino Uno, which will be the heartbeat of the system. The following is the data flow chart between the components and the Arduino Uno (yellow rectangle). The figure serves as our framework for the coding.

Figure 1: coding framework
Something that is not clearly explained in the framework is that there will be a blood bag counter for each compartment. Whenever the scanner detects a particular code, it will add one counter to the blood bag counter, and whenever a blood product is requested through the interface, it will remove one counter from the blood bag counter. This will ensure a more systematic process in the storing, and limits the number of blood products that can be in the cooler at a particular time.
We are working on the coding and assembly bottom-up, which means we’re going to work on the dispensing system first. So far, we have written the code for one servo and found out that for each section of the coil to move one unit, it needs 2.5 seconds. We are in the process of connecting the interface to the dispensing servos.
From there we will experiment with the scanner and connects it to the feeder servo which will rotate the scanning slot to the designated compartment with respect to the color code on the blood bag.
Components and Assembling by Hakim
Over the past two weeks, we also have assembled the main body of our design. We paid a visit to Vanderbilt Machine Shop and talked to the mechanics about our design and gave them our sketch. The assemblings that we asked them to do are cutting of coil, attachment of servo motor to the coil, cutting of acrylic sheets, attachment of compartment divider to the base utilizing corners braces, nuts and bolts. They took 3 days to complete the assembling. The complete assembling is depicted in the figures below.
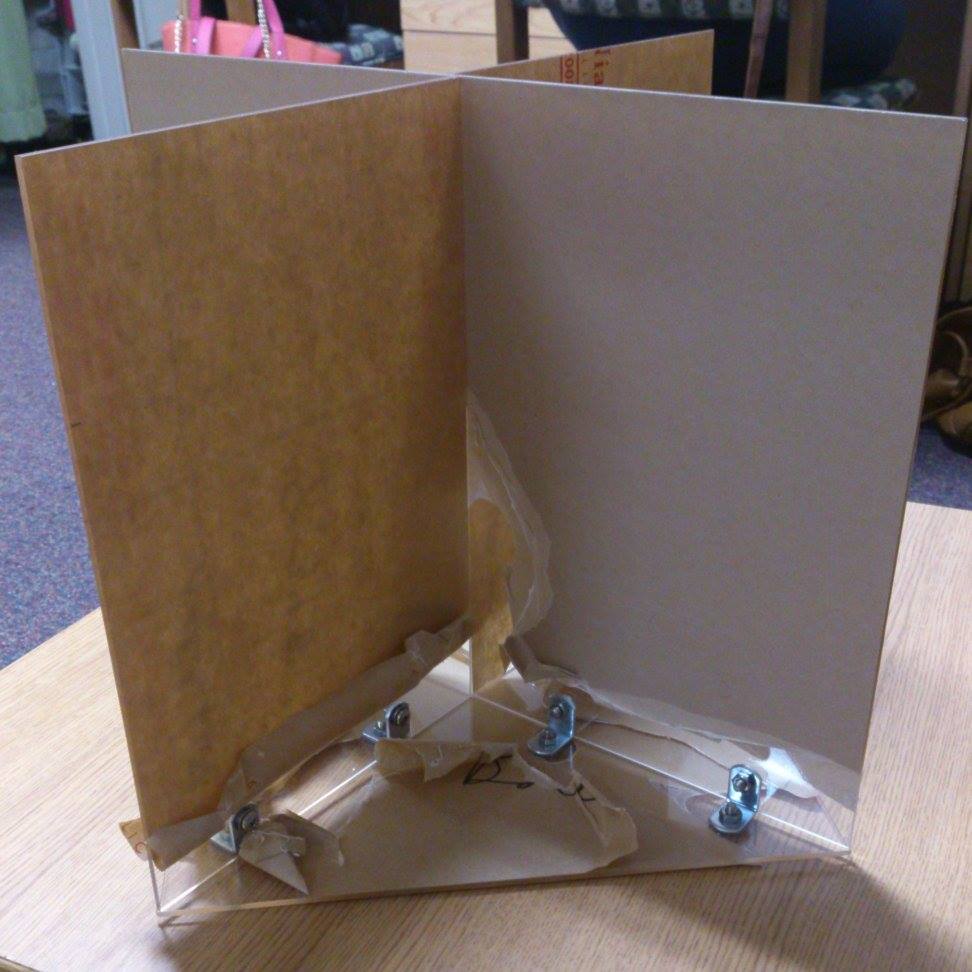
Figure 2: Assembled body compartments

Figure 2: Rotation servo attached to the coil
Then we ordered the next batch of components – servo motor for inserting slot, RGB sensor for the scanner, arduino to control the li and two more coils. Our next plans are to finish assembling two more coils and attach them to specific compartments and start working on the body for the lid.
©2026 Vanderbilt University ·
Site Development: University Web Communications