
Saws
Saws in the Design Studio can be used to cut a workpiece in two or to make slots or grooves. This page will introduce you to the types of saws we have and when to use each one.
Safety First!
- The blades are sharp! (yes, really) Look, don’t touch, if you need to inspect them.
- Always wear safety goggles when sawing. Saws can shatter, and no one wants flying metal shrapnel in your eyes.
- Use a vise or a clamp to secure your workpiece. Don’t trust your bare hands to keep it steady.
Types of Saws & When to Use Them
There are currently four types of saws available in the Design Studio:
Crosscut Saw

Use the crosscut saw to quickly make straight cuts in wood. If you need a precise angle or a curved cut, try the miter box or the coping saw.
Coping Saw
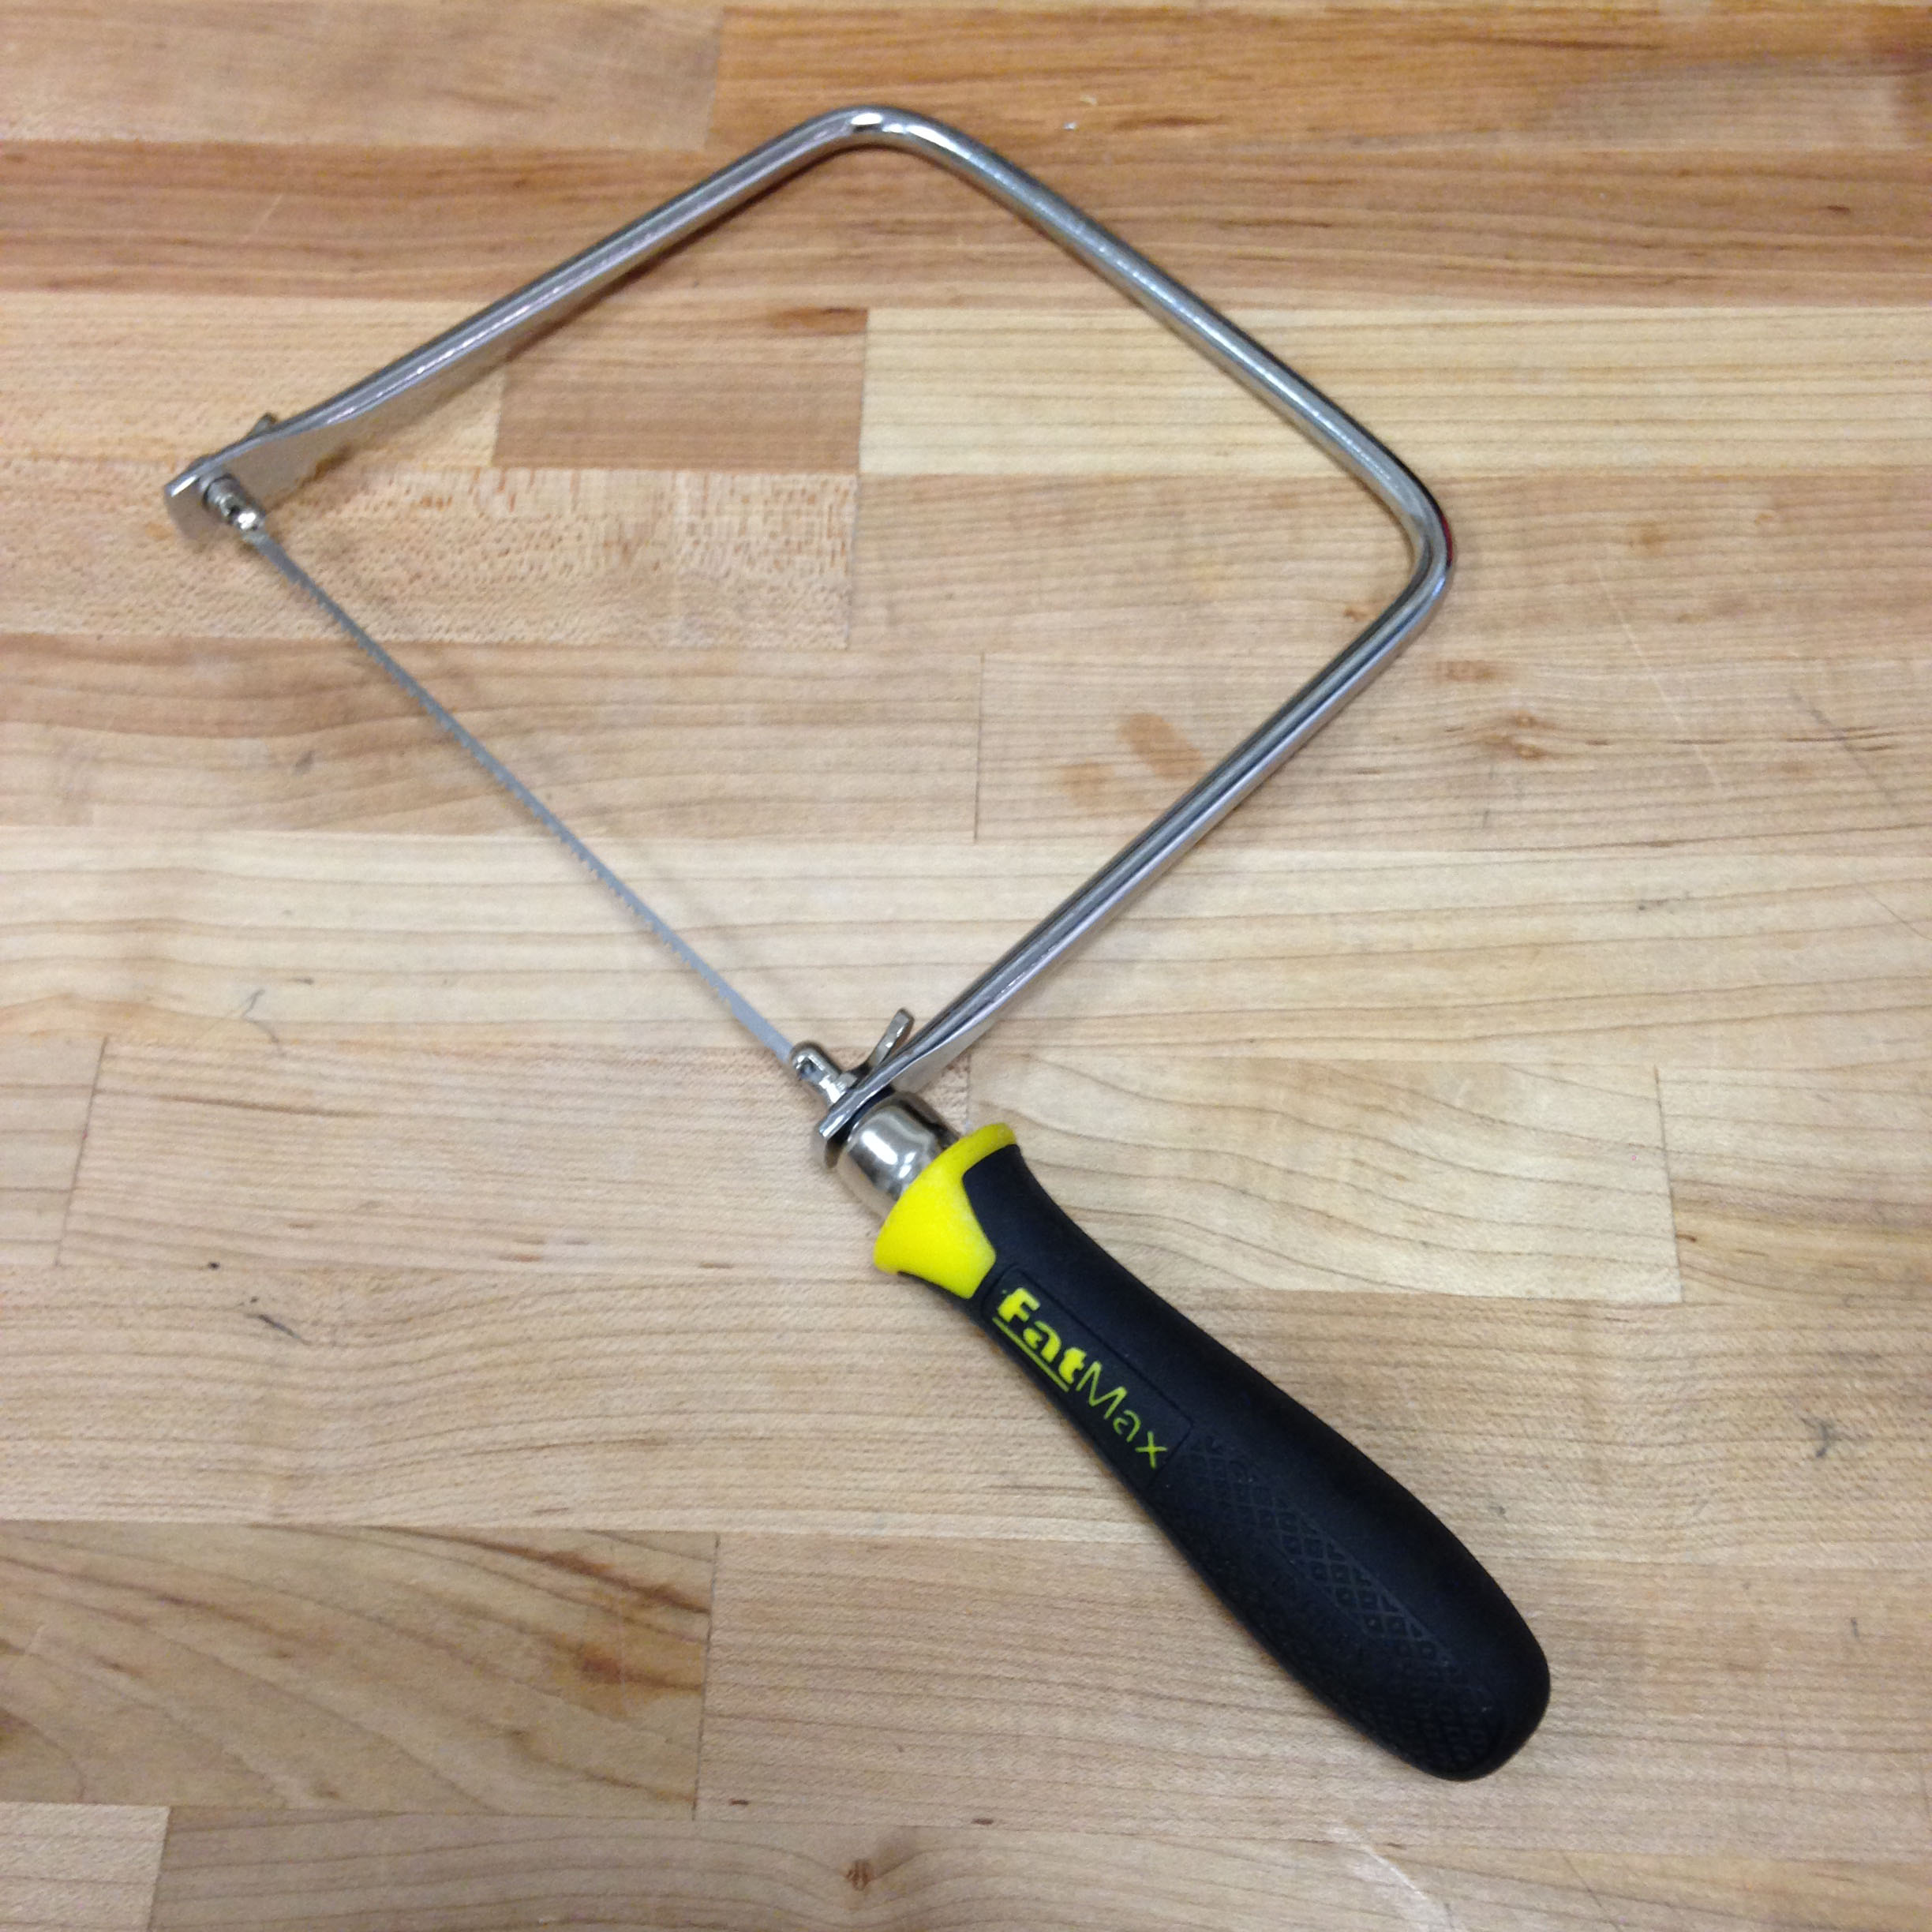
Use the coping saw to cut along smooth lines or curves in wood. The blade can rotate to cut at any angle. If you just need a straight cut, the crosscut saw will be faster.
Miter box
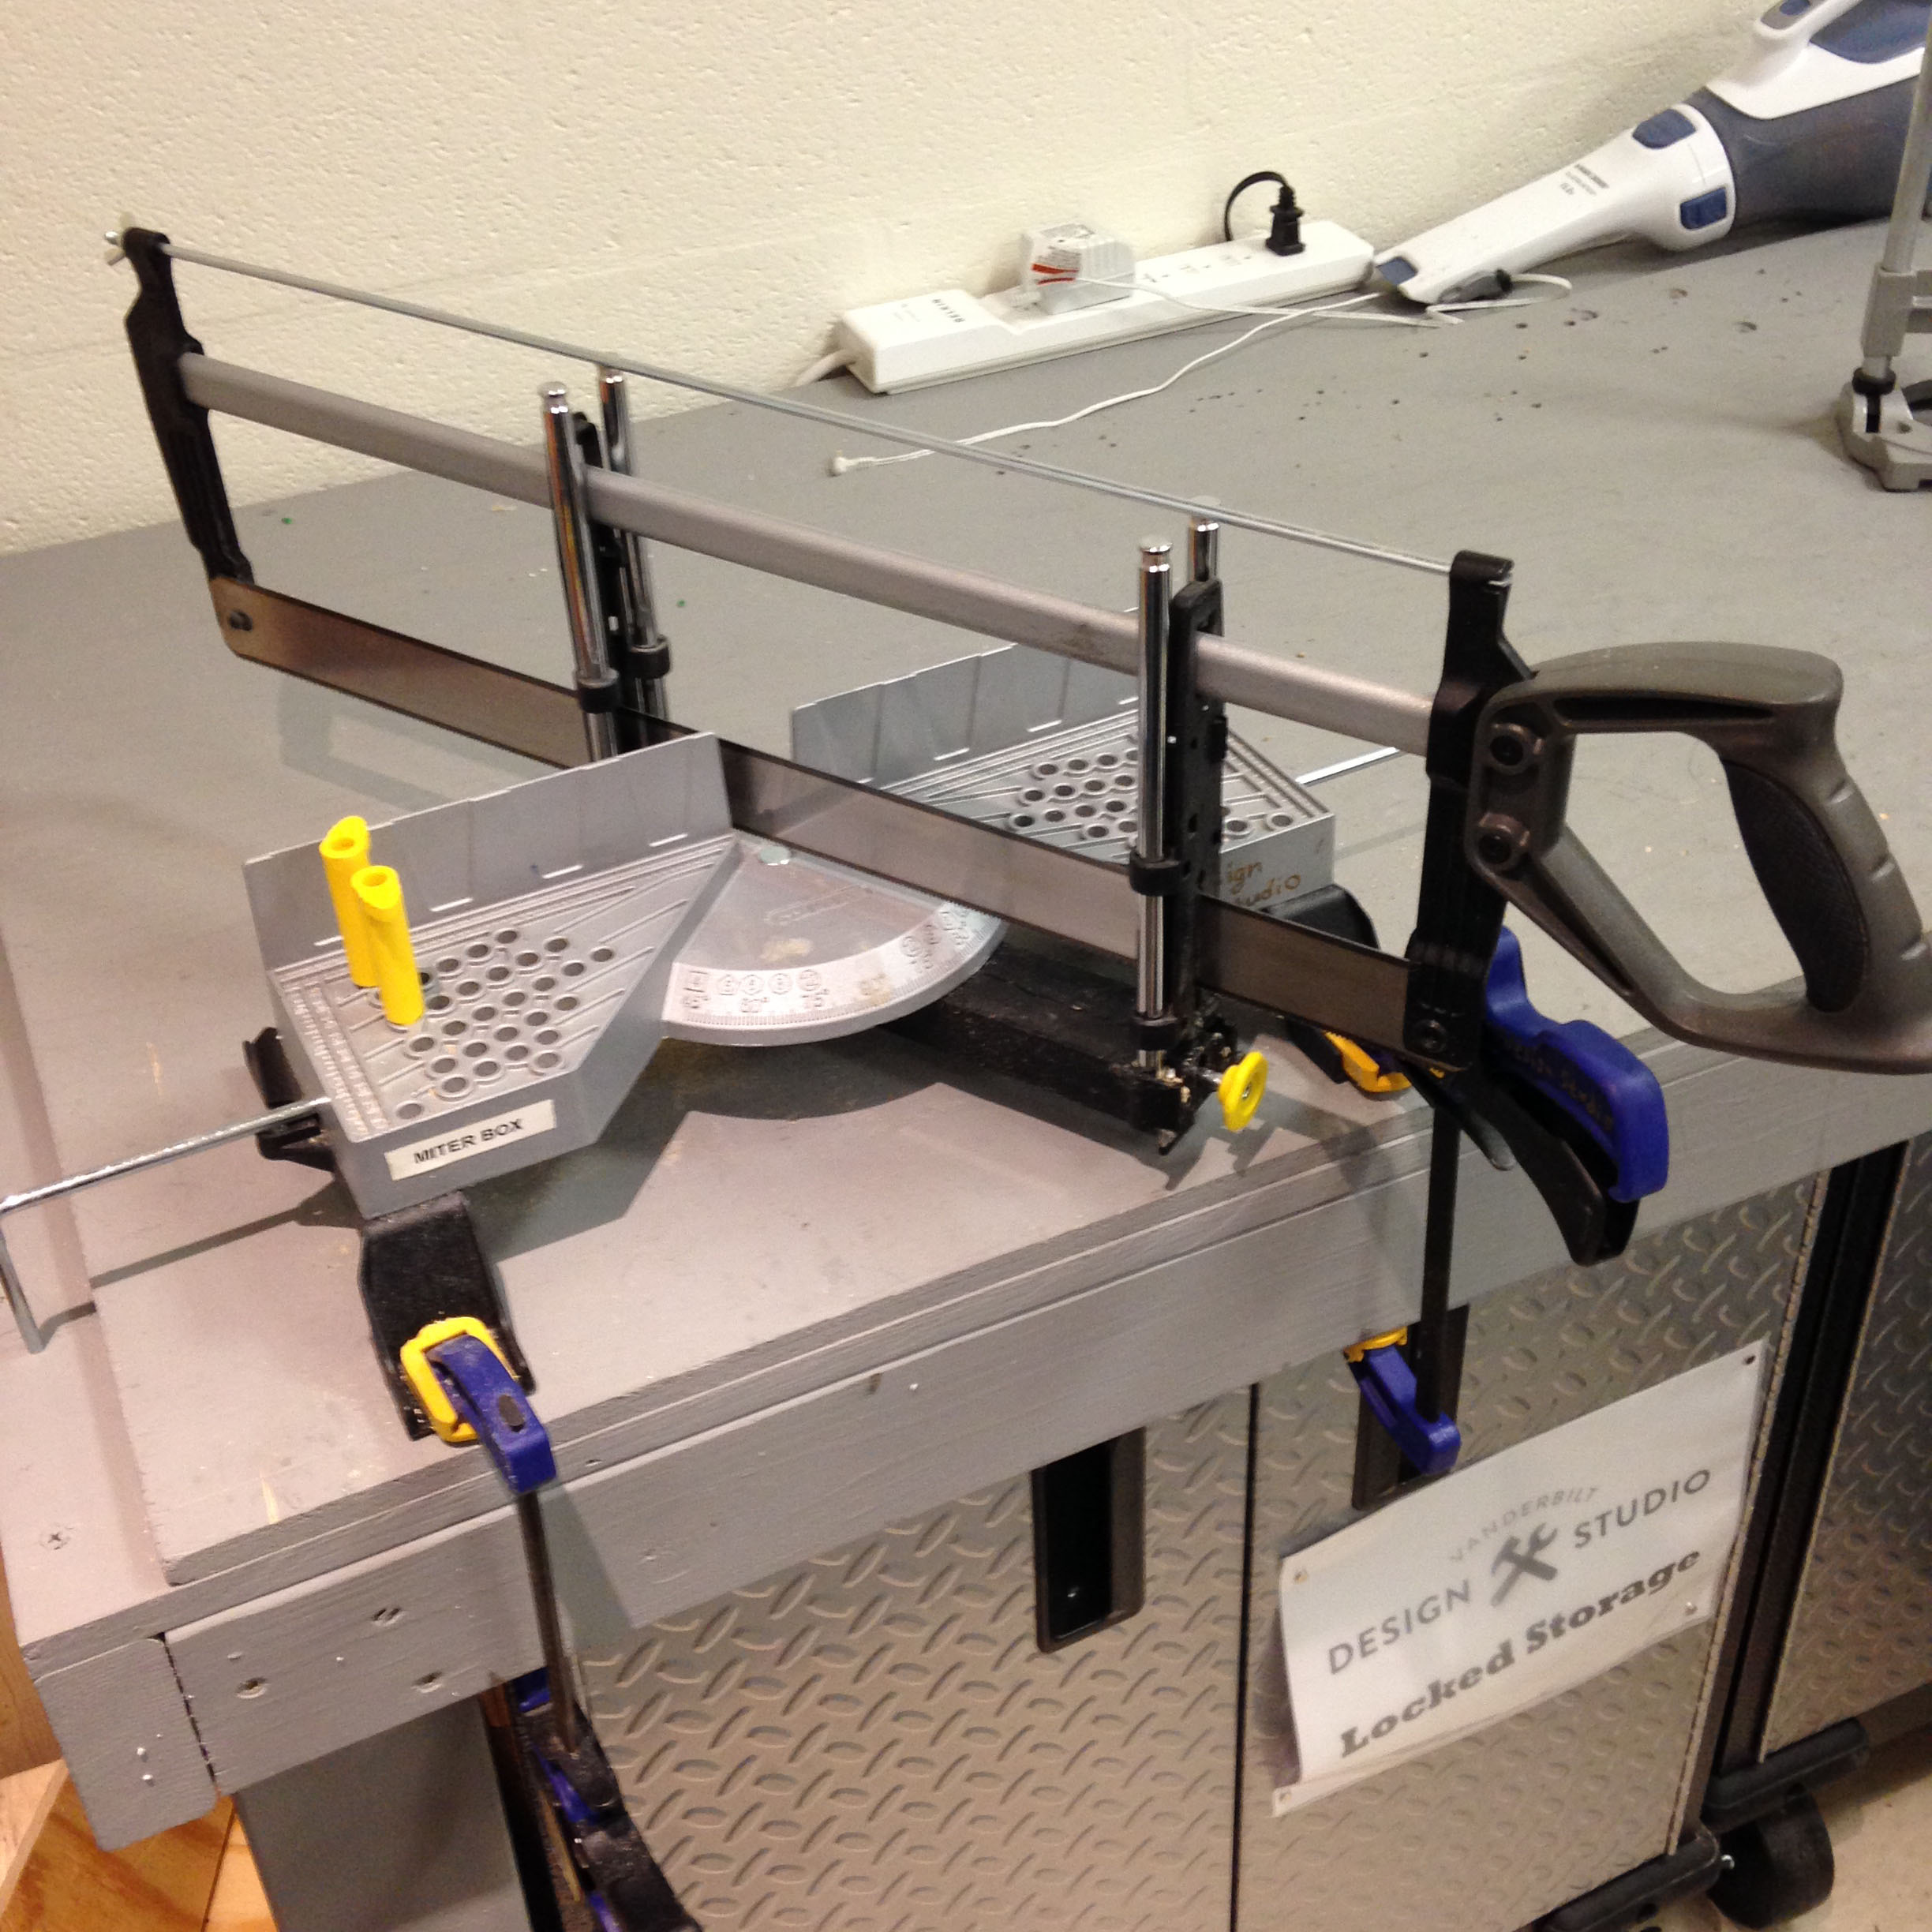
Use the miter box to cut wood at precise angles. You can set the saw to a precise angle from 45 to 90 degrees, and the guides will keep the saw angled correctly as you cut. The yellow pegs can be used to help secure your workpiece to the metal fence, although you might need to use additional clamps to fully secure your workpiece.
Hacksaw
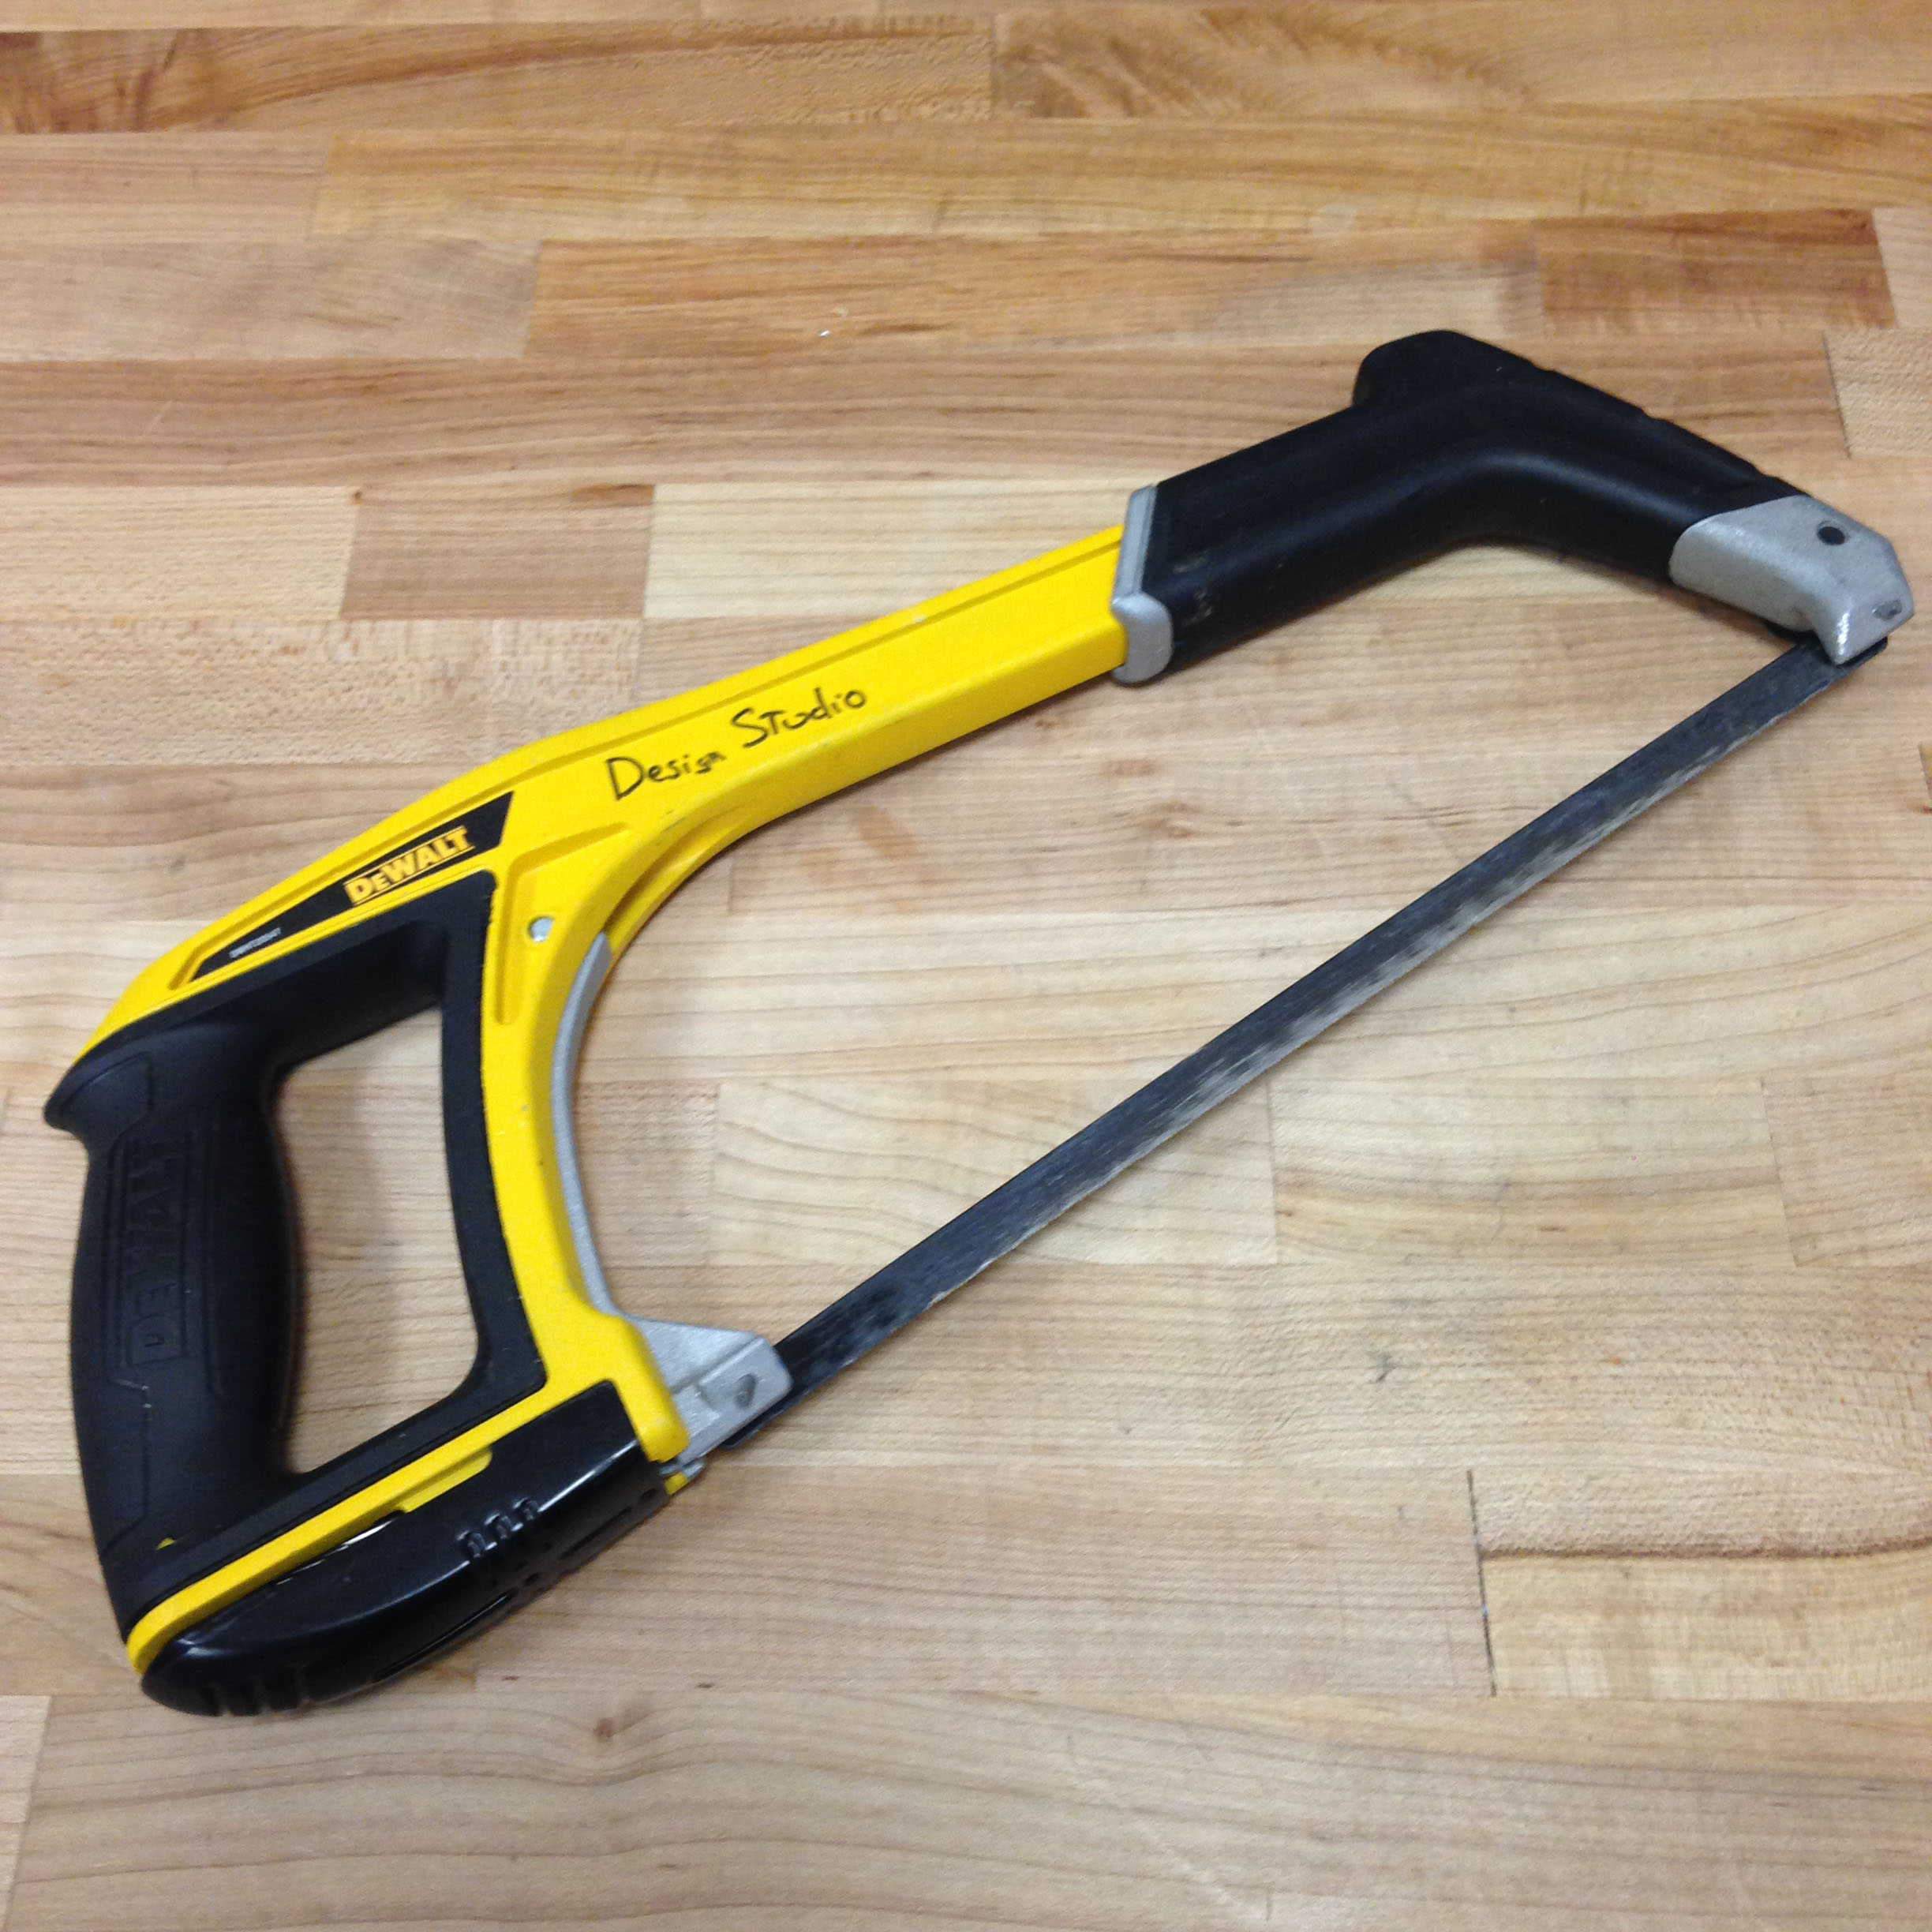
Use the hacksaw to cut metal and plastic. If you need to cut wood, one of the other saws is probably a better choice. Use both hands when using this saw: one to grip the handle and the other to hold the front of the frame.
Effective Sawing
- Clamp your workpiece and cut as close to the clamp as possible to limit chatter.
- Mark your workpiece. Measure twice, cut once.
- Don’t push down on the saw—putting more muscle into it can actually slow you down. Instead, simply push the saw back and forth and let the teeth do the work for you.
- Use the full length of the saw. You’ll finish more quickly if you use longer strokes.